Product Photography for Handmade Crafts: How to Take Better Photos of Your Products
Last updated: June 2026 · 8 min read
Your products look brilliant in person. Customers pick them up, feel the weight, notice the detail, and buy them. But online, on your StallSync profile, your social media, your Etsy shop, all anyone has is a photo. If that photo doesn't do your work justice, people scroll past without a second thought. The good news is you don't need an expensive camera, a studio, or any photography experience. A smartphone, some natural light, and a few simple techniques will get you most of the way there.
Key Point
A smartphone, natural light, and a plain background will get you 80% of the way to professional-looking product photos. The rest is small adjustments that take minutes, not hours.
Equipment: what you actually need
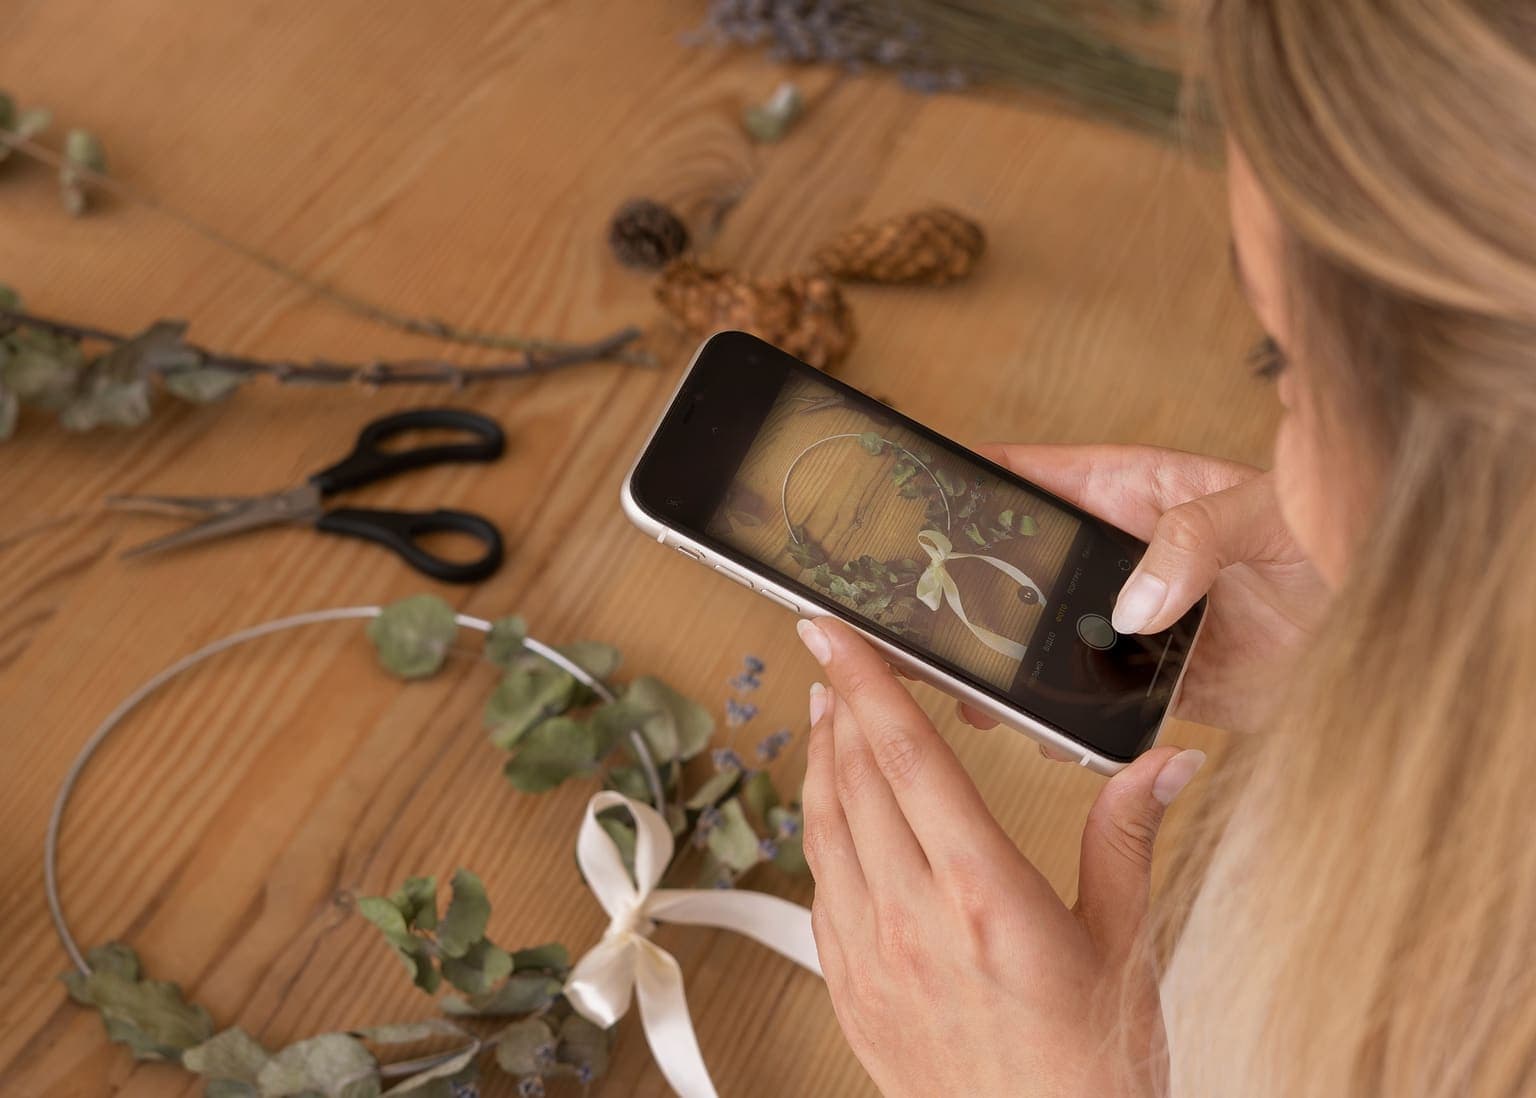
Your smartphone is enough. Any phone from the last three or four years has a camera more than capable of producing sharp, well-lit product photos for online use, social media, and printed marketing materials. The limiting factor is almost never the camera itself. It is the lighting, the background, and the composition.
Before you take a single photo, wipe your lens. It sounds obvious, but smartphone lenses collect fingerprints and pocket lint constantly. A quick wipe with a soft cloth makes a noticeable difference to sharpness and clarity.
The one cheap addition worth making is a tripod or stable surface. Camera shake is the most common cause of soft-looking photos. A smartphone tripod costs around eight to fifteen pounds, or you can prop your phone against a stack of books. For overhead shots, a small flexible tripod that clamps to a shelf or table edge is useful.
A dedicated camera is entirely optional. If you already own one, use it. If you don't, there is no need to buy one. Beyond a tripod, the only other equipment worth considering is a piece of white card (to use as a reflector, explained below) and optionally a lightbox for small items like jewellery or miniatures, which cost around fifteen to thirty pounds online.
Lighting: the one thing that makes the biggest difference
If you only take one piece of advice from this guide, make it this: use natural light, and turn off your ceiling lights.
Soft, indirect natural light, the kind you get near a window on an overcast day or from a north-facing window at any time, produces the most flattering, accurate colours for product photography. Overcast days are genuinely your best friend here. The clouds act as a giant diffuser, spreading the light evenly.
Avoid direct sunlight. It creates harsh shadows, blown-out highlights, and makes colours look wrong. If the sun is streaming through your window, hang a white sheet or tape a piece of greaseproof paper over it to soften the light.
Turn off your room lights. Ceiling lights create unflattering downward shadows and have a colour cast, usually yellow or cool white, that makes your products look different from how they appear in real life. Rely on the window light instead.
To fill in shadows on the side of your product facing away from the window, prop a piece of white card opposite the light source. The card bounces light back into the shadow areas, reducing harsh contrast. This one trick can transform a product photo.
If you photograph products regularly, say weekly new stock for social media, a pair of basic LED panels (twenty to forty pounds for a set) gives you consistent light regardless of weather or time of day. Look for daylight-balanced panels rated 5000 to 5500K.
Backgrounds and surfaces
Plain backgrounds work best for product shots. White, cream, or light grey keeps the focus on the product and looks professional anywhere. A large sheet of white card or paper is all you need.
For a clean, seamless look, use the sweep technique: tape a large sheet of paper or card to a wall and curve it down to the table surface so there is no visible join or horizon line. The product appears to be floating on an infinite background.
For lifestyle shots, where you want to show the product in context, choose a surface that matches the feel of your work. Weathered wood suits artisan products like soaps, pottery, and woodwork. Clean white suits modern or minimalist items like jewellery and printed art. Dark slate creates drama for lighter-coloured items. Vinyl photography backdrops, available for ten to twenty-five pounds online, give a realistic surface that wipes clean.
Whatever you choose, be intentional about what is in the frame. If you include props, a sprig of dried flowers or a complementary fabric swatch, every element should add something. A busy kitchen counter in the background will undermine an otherwise good photo.
Consistency matters more than perfection. Using the same background across all your product photos creates a cohesive, professional look for your profile or social feed. That visual consistency matters more than any single shot being artistic.
How to compose your shots
There are five types of photo that every stallholder should aim to take for each product:
- 1. Hero shot. The main product photo on a clean background, well-lit, showing the product clearly. This is your profile photo, the first image in a listing.
- 2. Detail or close-up. Texture, stitching, grain, glaze, brushwork. Whatever shows the craftsmanship. This is what separates handmade from mass-produced.
- 3. Scale shot. The product in hand, next to a common object, or being worn or used. Customers need to understand size, and photographs are notoriously bad at conveying it.
- 4. Lifestyle shot. The product in a real-world setting: a mug on a table with a book, a necklace being worn, a candle lit in a living room. This helps people imagine owning it.
- 5. Group or collection shot. Multiple products together, showing your range. Useful for social media headers and stall banners.
Most smartphone cameras have a grid overlay option in settings. Turn it on. Placing the product at one of the intersection points rather than dead centre creates a more engaging image. This is the rule of thirds.
Different products suit different angles. Flat items like prints, cards, and textiles work best from directly overhead. Tall items like bottles, vases, and candles suit eye level or slightly above. Round items like bowls and plates look best from a thirty to forty-five degree angle to show both the face and the depth. Wearable items like jewellery and clothing should be shown on a person or form wherever possible.
Leave some breathing room around the product. Don't crop too tightly. You may need to crop the same image to different aspect ratios later: square for Instagram, portrait for Etsy, landscape for a website banner.
Photographing your stall
This is a different job from product photography, and it matters just as much. Organisers want to see what your stall looks like before they book you. Your StallSync profile, your social media, and your own post-event review all benefit from good stall photos.
Photograph your stall before customers arrive. The display is at its best before it has been browsed, so take your photos as soon as setup is complete and before the event opens.
Also photograph during the event. A stall with customers browsing looks busy, successful, and inviting. These action shots are powerful for social media and for showing organisers that you draw footfall.
If possible, do a test run at home. Set up your full display in good light, photograph it without the time pressure and background clutter of an actual event, and use those clean, controlled images for your profile.
Take one wide shot showing the full stall, then crop in to individual sections or displays. Try to avoid including neighbouring stalls, messy backgrounds, or venue branding that dates the image.
Vertical video works well for social media too. A quick fifteen-second walkthrough of your stall performs well on Instagram Reels and TikTok.
Indoor venues like village halls and community centres often have harsh overhead fluorescent lighting that casts unflattering shadows and a cool colour cast. If you can, position near windows. If not, the editing section below covers how to correct colour temperature after the fact.
Extra tips for food sellers
Food photography has its own challenges that general product photography advice does not cover.
Freshness is everything. Food looks best within minutes of being prepared or displayed. Photograph baked goods as soon as they have cooled. Photograph hot food while steam is still visible. Have your setup ready before the food is.
A tiny wisp of steam signals freshly made and triggers appetite. For market stall food, this is rarely staged. It is real. Capture it quickly. A dark background makes steam more visible.
Flat items like cookies, tarts, and topped cakes photograph best from directly overhead. Items with height and layers, such as stacked brownies, filled rolls, and layer cakes, benefit from a forty-five degree or eye-level angle to show the cross-section and depth.
Always photograph both the whole item and a portion. A whole cake is impressive, but a slice pulled slightly away showing layers, filling, and texture is what makes someone want to buy it.
If you are subject to Natasha's Law allergen labelling requirements, consider showing your allergen labels clearly in at least one photo. It demonstrates compliance and builds trust with customers who have dietary requirements. See our guide on Food Labelling and Allergens for details on what the law requires.
Avoid filters that alter food colour. A warm Instagram filter might make a living room photo look cosy, but it can make food look unappetising or misleadingly coloured. Keep food photos true to colour and adjust brightness and contrast only.
For context props, a linen napkin, a wooden board, or scattered ingredients like a few whole almonds next to an almond cake all add authenticity without cluttering the shot.
Editing your photos
You do not need to be a photo editor. A few simple adjustments, done consistently, will make a real difference. Here are the tools and what to actually do with them.
Snapseed (by Google, free on iOS and Android) is the strongest recommendation for most stallholders. It is completely free with no ads or premium tier, and handles everything you need: brightness, contrast, crop, sharpen, and colour correction.
Canva (free tier is generous; Pro is around eleven pounds a month) is not primarily a photo editor, but it is excellent for creating social media posts, price lists, and marketing materials that include your product photos.
Adobe Lightroom Mobile (free with limited features) offers more powerful colour correction for stallholders who want consistent colour grading across their product range, but has a steeper learning curve.
PhotoRoom and Remove.bg are useful for background removal, turning a photo taken on your kitchen table into a clean product-on-white image. PhotoRoom is an app; Remove.bg is a website that works without installing anything.
When editing, work through these adjustments in order:
- 1. Crop and straighten. Remove distracting edges and level the horizon. This alone improves most photos significantly.
- 2. Brightness. If the photo looks dark, increase exposure slightly. Aim for the product looking as bright as it does in real life, not brighter.
- 3. White balance. If the photo looks too yellow (indoor lighting) or too blue (shade), adjust the colour temperature until whites look white. This is the most impactful single edit for photos taken under artificial light.
- 4. Contrast. A small increase makes products look more defined. Do not overdo it.
- 5. Sharpness. A gentle sharpen helps, especially for photos displayed at small sizes on mobile.
- 6. Saturation. If colours look washed out, a small boost restores vibrancy. But pushing too far makes products look inaccurate, which leads to disappointed customers.
Do not use heavy filters. They distort colours and make products look different from reality. Do not over-smooth textures. The texture of handmade products is a selling point, not a flaw. And do not change the colour of a product or add elements that are not there. Honest photos build trust.
Image sizes for different platforms
Different platforms display images at different sizes and aspect ratios. Shoot at your phone's highest resolution and crop afterwards. It is much easier to crop a large image down than to upscale a small one.
- Instagram feed: square (1:1) or portrait (4:5). Portrait takes up more screen space in the feed, so tends to perform better. Aim for at least 1080 pixels wide.
- Instagram Stories and Reels: vertical 9:16, ideally 1080 by 1920 pixels.
- Facebook: landscape (1.91:1) for link previews, square (1:1) for feed posts. At least 1200 pixels wide.
- Etsy: 5:4 aspect ratio, with the shortest side at least 2000 pixels. Images below 635 pixels appear lower in search results.
- Website banners and general use: landscape 16:9 or 3:2, at least 1200 pixels wide.
- StallSync profile: image specifications will be confirmed as the platform launches, so shoot at high resolution and you will be covered regardless of the final format.
Official Sources
- Etsy Seller Handbook: Product Photography
- Shopify UK: DIY Product Photography Guide
- Shopify: Phone Product Photography
- Folksy Blog: Photography Tips for Makers
- YouTube: DIY Product Photography for Handmade Businesses
- YouTube: Product Photography on a Budget Using Your Phone
- Snapseed: free photo editor (Google Play)
- Snapseed: free photo editor (App Store)
- Canva: design and photo editing
- Remove.bg: free background removal
StallSync helps stallholders showcase their work and connect with event organisers. A great profile starts with great photos, and now you know how to take them.
You Might Also Find These Helpful
Taking Card Payments at Craft Fairs: A Beginner's Guide
Plain-English guide to moving from cash to card at craft fairs and markets: what actually happens, what kit you need, signal and bank accounts, and the questions to ask any provider before you sign up.
Copyright and Intellectual Property: What Craft Sellers Need to Know
Protecting your own designs and avoiding infringing others': copyright, trade marks, and design rights for makers.
When Does a Craft Hobby Become a Business? HMRC Rules
When your craft hobby becomes a taxable business in the eyes of HMRC.
How to Make a Craft Fair Poster: Templates, Tools and Design Tips
Practical guide for event organisers on making a clear, readable craft fair poster in Canva in about 15 minutes, and why AI-generated posters are sinking into sameness.
Likes But No Sales? How Social Media Works for Craft Sellers
Plain-English guide to social media for craft stallholders and food traders: why likes don't equal sales, and how to spend your time on posts that reach real buyers.
Not sure what else applies to you?
Answer a few quick questions and we’ll build you a personal checklist of the rules for your stall, food business, or event. No email needed.
Build my checklistThis guide offers practical suggestions, not professional photography instruction. What works best will depend on your products, your setup, and your audience. Experiment, see what gets the best response from your customers, and refine from there.